Selenium IDE is a free Firefox plugin that leverages javascript to record automated test scripts. In this first tutorial we will install Selenium IDE and create a basic test script. The next tutorial will cover more advanced topics.
I primarily use Selenium IDE in three areas:
- Defect - I ask testers to record their steps and attach the script to their defects. This is a simple way to communicate exactly how they found an issue. This technique significantly cuts down on communication overhead.
- Acceptance Testing - While I prefer writing tests before I write the code, this is a simple way to record tests on existing web applications. In part II I will show you how to export these recordings into Java. By exporting these scripts you can easily add them to your existing automated test suite.
- Demo Setup - I've found it handy to run small Selenium test cases to setup a demo. For example you may want to demonstrate the functionality on the tenth page that requires a log-in and multiple data entry steps. This approach can reduce demo setup time and enable you to focus on demonstrating new functionality.
Setup
- Install the Selenium IDE Firefox plugin (http://seleniumhq.org/projects/ide/)
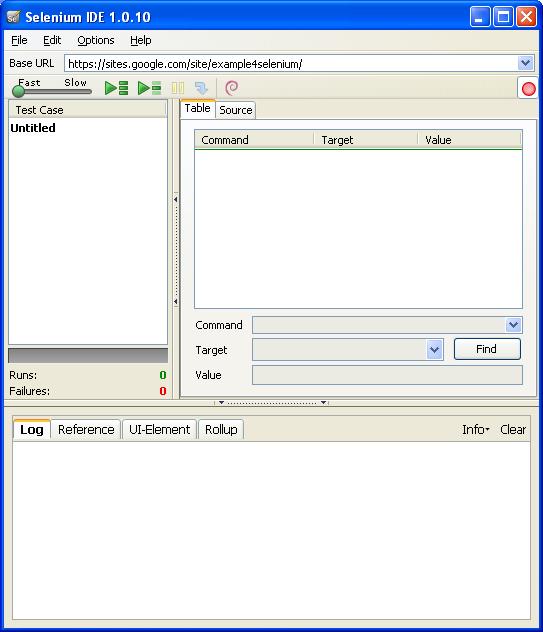
- Navigate to https://sites.google.com/site/example4selenium/ in Firefox
- Tools -> Selenium IDE
- The
 button is set to record when you start Selenium IDE.
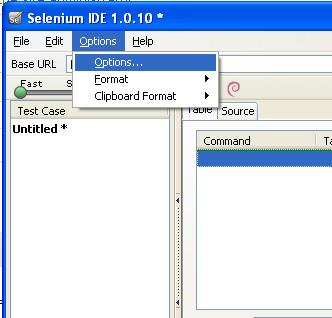
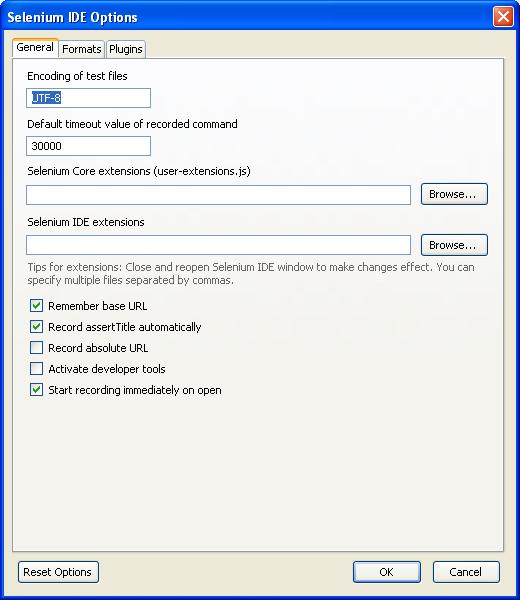
 - Open the Selenium IDE options.
- Check 'Record assertTitle automatically'. This option asserts the page title after every page transition. This verifies that the last action advanced to the correct page before proceeding with the next step.
Record Test
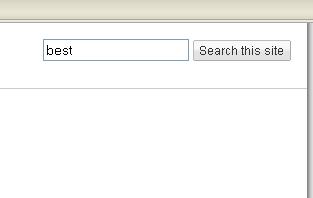
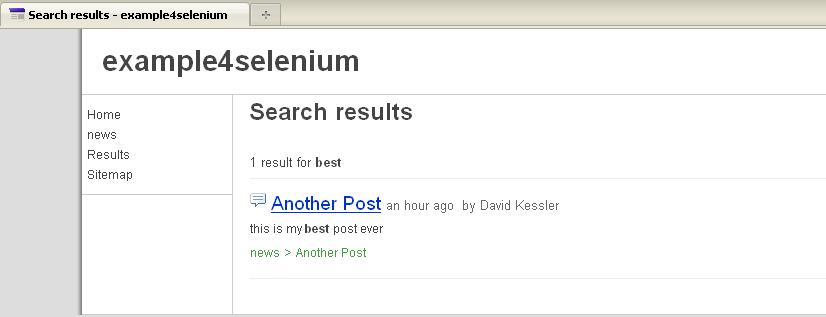
- Search for the word 'best'.
- Click the 'Search this site' button.
- Click the 'Another Post' link.
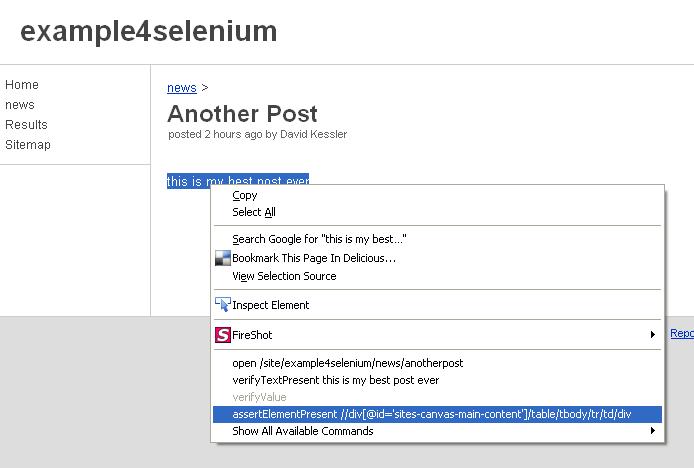
- Selenium IDE plugin provides right-click assert options. Verify that this article contains the phrase "this is my best post ever".
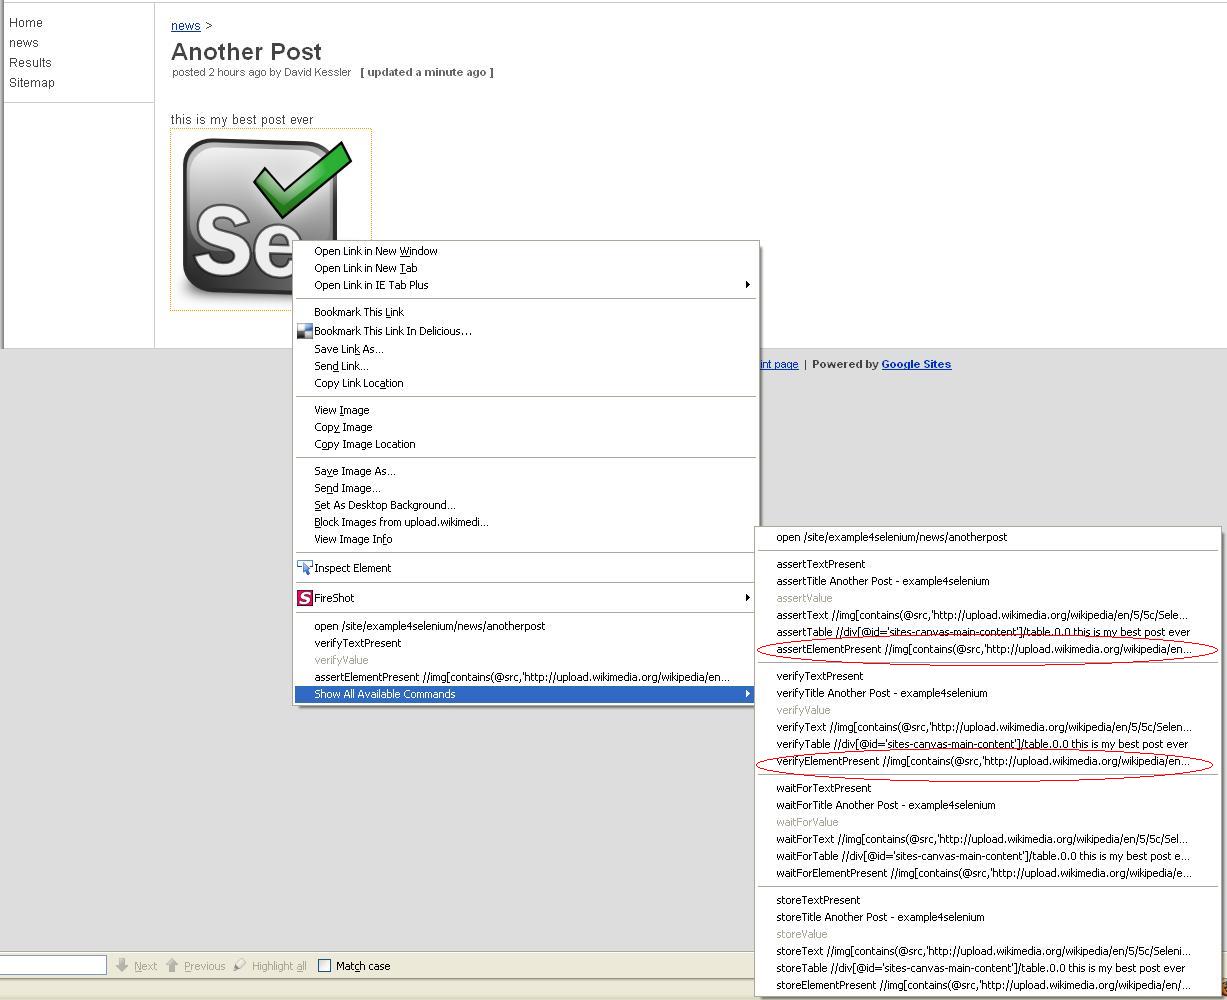
- This plugin can also verify the presence of images. Right click the 'Selenium' logo.
- Under 'Show All Available Commands' there are 'assert' options and 'verify' options. What is the difference between assert and verify? Assert will stop the test case if it fails. On the other hand, verify will allow the test case to complete. It is recommended to use assert over verify.
- Select the "assertElementPresent //img[contains(@src,'http://upload.wikimedia.org/wikipedia/en/5/5c/Seleniumlogo.png')]" option.
- Click the 'Home' link.
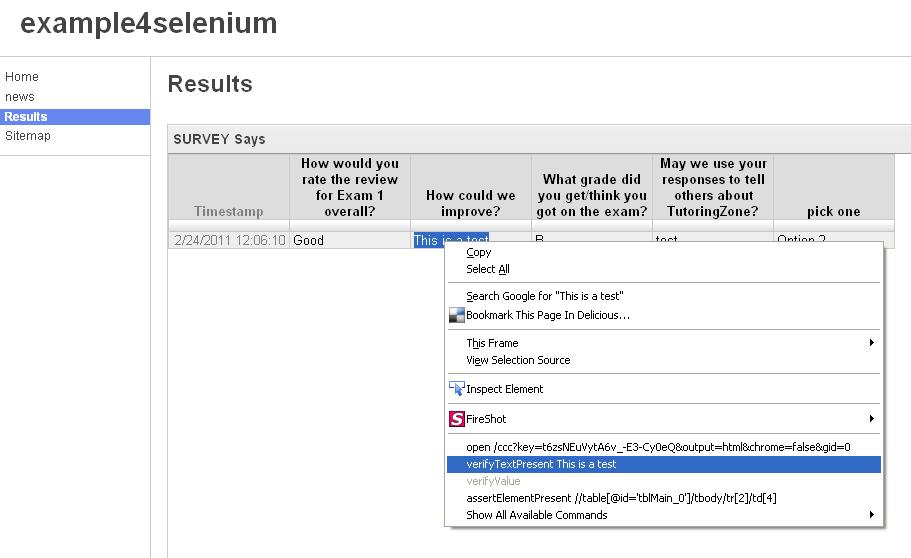
- Fill out the form and click the 'Submit' button.
- Click the 'Results' link.
- Right-click and verify the text 'This is a test' is present.
- Click the button to stop recording.

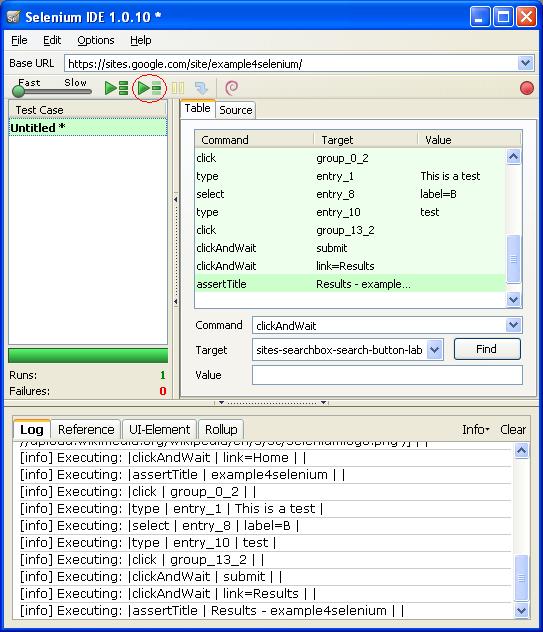
Replay Script
- Now replay this script and watch it go.
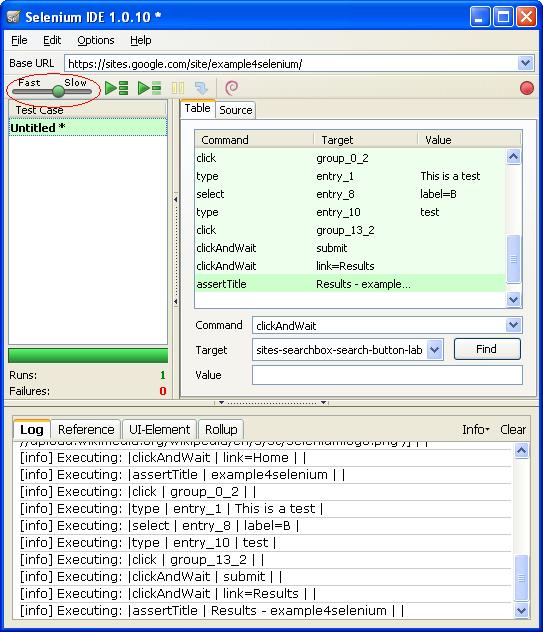
- Adjust the speed and replay the script.
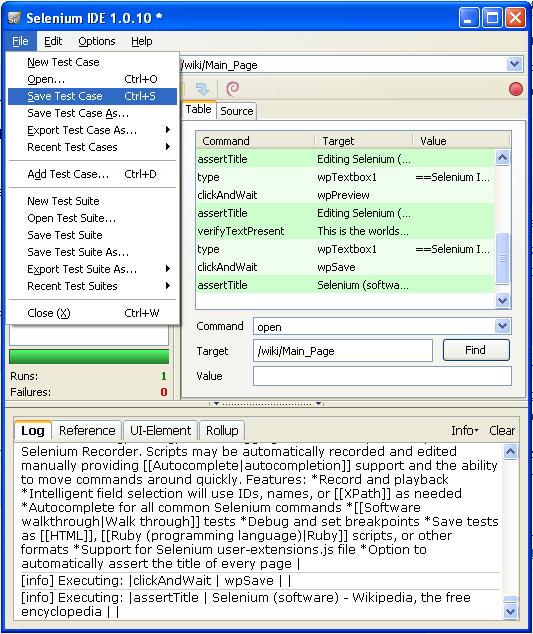
Save Test Case
- Save the test case.
Resume Recording
- Navigate to the correct page.
- Set the focus under the last step and click the button.
- Continue recording steps.
Test Suits
- A suite is one or more test cases.
- Add one or more test cases
- Save the test suite

Next month, in Part II, we will cover
- Storing Variables
- Debugging Scripts
- Using XPath
- Exporting Scripts into Java